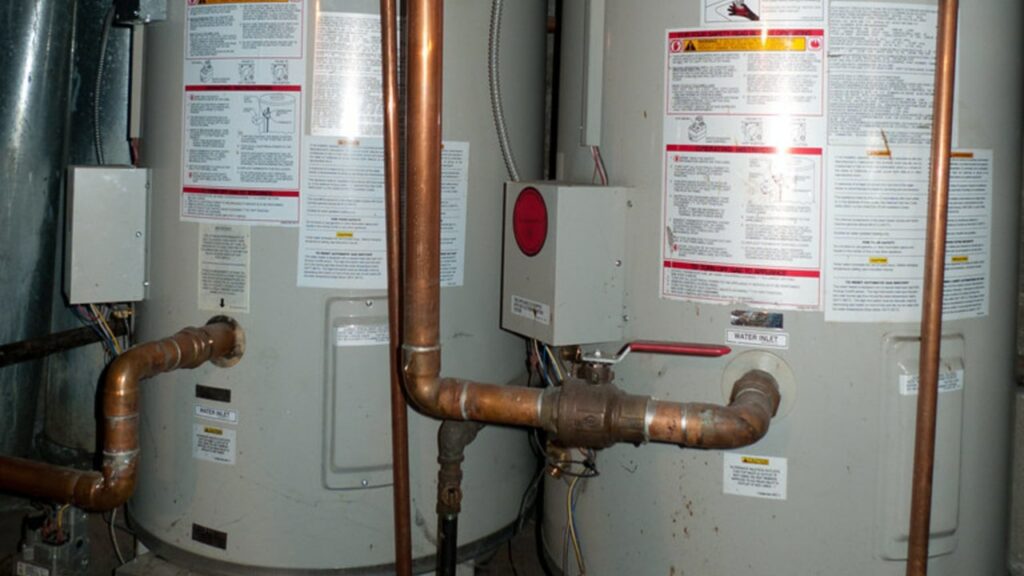
As a seasoned home maintenance expert, I can’t stress enough the importance of regular water heater maintenance, a crucial yet often overlooked aspect of homeownership. Part of this routine includes flushing your water heater, a task that guarantees your heater’s dependability and saves you a bundle on operational costs. Let’s delve into the significance of this task, why it’s required, and how you can perform it easily and safely.
Why Does Your Water Heater Need Flushing?
Water, irrespective of its source, carries small quantities of sediment – sand, minerals, and grit. While these are part and parcel of any water system, they can accumulate over time inside your water heater. This build-up can cause tank corrosion, reduced efficiency, and eventually lead to appliance failure. However, implementing a regular maintenance program that includes water heater flushing can prolong the lifespan of your heater by several years.

The Importance of Regular Flushing
Manufacturers recommend flushing your water heater at least once a year. Neglecting this maintenance can accelerate your heater’s corrosion and may lead to sediment blocking the pressure and relief valve, which is designed to prevent your water heater from exploding.
Step-by-Step Guide to Flushing a Water Heater
Although flushing a water heater involves a straightforward process, ensure you follow these steps carefully. If you’re unsure or uncomfortable performing any of these procedures, seek professional help from a local plumbing contractor.
- Preparation: If your water heater is gas-based, set the gas valve to “Pilot” to prevent the burners from igniting during the flush. For electric water heaters, disconnect the power at the circuit breaker box.
- Hose Connection: Attach a garden hose to the drain valve located at the bottom of the tank. Extend the hose outside, directing it away from your home.
- Shut-Off Valve: Close the shut-off valve on the cold inlet to the water heater. If there’s no shut-off valve at your heater, or if it’s non-functional, shut off the water at the main line coming into the home or directly at the water meter.
- Pressure Relief: Open the temperature and pressure relief valve at the top of the tank by lifting the lever. Keep this valve in the open position.
- Drain Valve: Open the drain valve at the bottom of the heater, allowing the water to flow through the garden hose.
- Troubleshooting Sediment: If sediment begins to clog the drain valve, try “power flushing” it out. Close the temperature and pressure relief valve, then turn on the cold inlet valve. If large chunks of sediment block the drain valve, wait until everything cools down, remove the garden hose, remove the valve if necessary, and use a long screwdriver to break up the clog. Be prepared for a wet and messy procedure!
- Job Completion: You know you’ve done a good job when the water running from the garden hose is clear and the water heater has been drained.
- Wrapping Up: Close the drain valve at the bottom of the tank and remove the garden hose. If it’s still open, close the pressure relief valve at the top of the tank and turn the cold inlet valve back on.
- Clearing Air from the Lines: Open the hot water faucet closest to the water heater and allow it to run until all of the air is out of the lines.
- Power Back On: Re-light the pilot if it’s a gas heater, or turn the electricity back on if it’s an electric water heater. Expect the water to heat up in about 30-60 minutes.
Post-Flush Considerations and Maintenance Tips
After flushing your water heater, it’s common to notice some discoloration in your water. Don’t worry – this is merely the sediment dislodged during the flush that has made its way through your fixtures. It should clear up within 24 hours of regular use.
However, certain signs should not be ignored. For instance, if the water appears brown or rusty, this may be an early indication that your water heater is deteriorating internally, a condition that may eventually lead to leaks. If you observe this, prioritizing water heater replacement is strongly advised.
Ensure to exercise caution during this procedure, especially when draining the water heater. The water discharged from the heater can be extremely hot and may cause scalding injuries. It’s essential to keep children and pets away from the draining water.
For electric water heaters, always remember to switch off the circuit breaker before attempting to drain. If you omit this step and the water level drops below the heating elements, the thermostat will activate the elements, damaging them and hindering the unit’s proper functioning.
Tailoring to Local Water Conditions
The recommended schedule for this task may vary based on local water quality. For instance, water heaters in areas with high mineral content will require more frequent flushing than units connected to a water filtration system. Always refer to your owner’s manual for guidance.
In conclusion, regular water heater maintenance, including periodic flushing, can significantly enhance the lifespan of your water heater, reduce energy consumption, and maintain its efficiency. As a homeowner, taking the time to understand and perform this task could save you from unexpected breakdowns, expensive repairs, and a cold shower on a winter’s day.

Jay
Jay is a health and wellness enthusiast with expertise in water quality and nutrition. As a knowledgeable advocate for holistic well-being, Jay successfully manages Type 2 Diabetes through informed lifestyle choices. Committed to sharing reliable and authoritative insights, Jay combines firsthand experience with a passion for enhancing health."
