
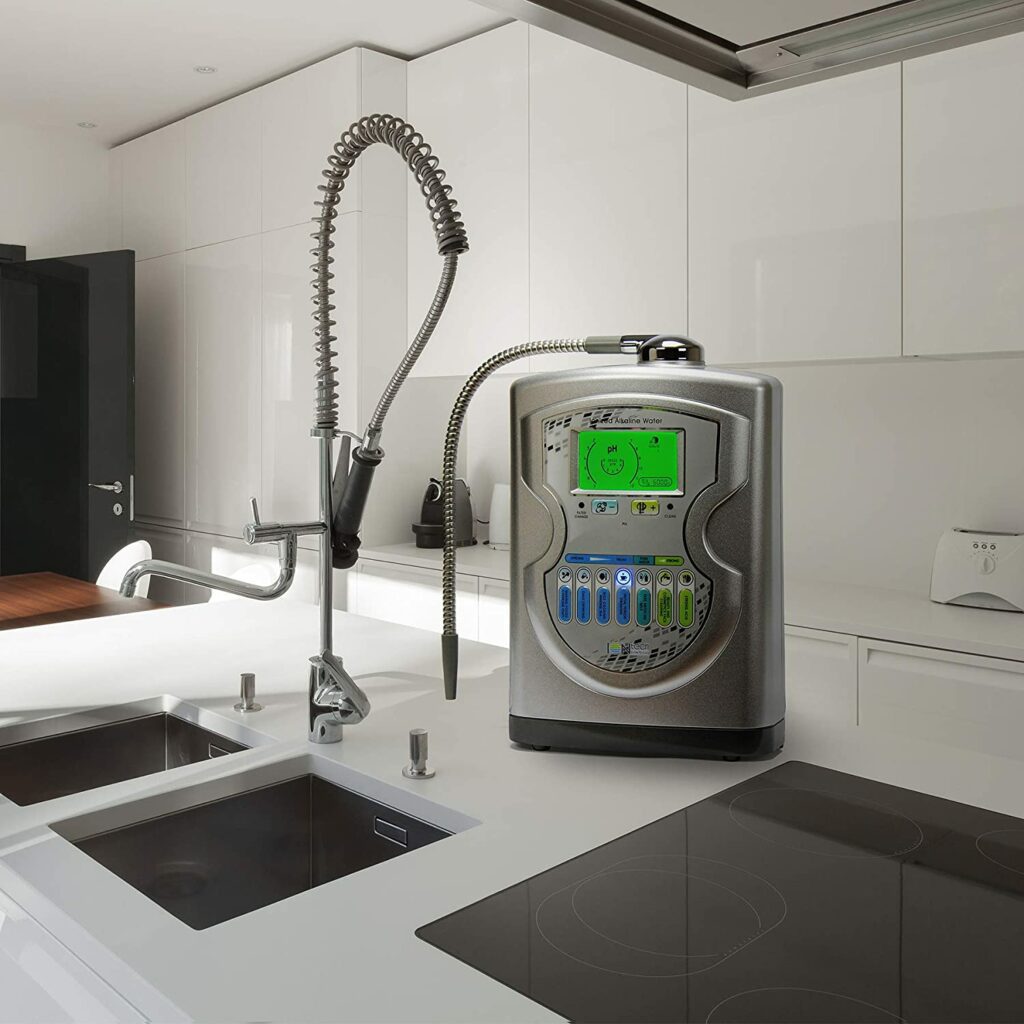
When it comes to the health benefits of alkaline water, your water ionizer is your best friend. This handy device works tirelessly to ionize your drinking water, adjusting its pH levels, and delivering water that’s packed with beneficial minerals. However, like any other household appliance, a water ionizer needs regular maintenance to stay in tip-top shape.
But how can you tell if your water ionizer needs a cleaning? Let’s explore some tell-tale signs that your ionizer might be due for a good scrub.
Recognizing the Signs of a Dirty Water Ionizer
Understanding your machine is crucial. Here are some significant indicators that your water ionizer might need a thorough cleaning:
1. The System Shuts Down During the Electrolysis Process
If your water ionizer shuts down during the electrolysis process, this could be a sign that it’s having trouble performing its essential functions. One common cause? Sediment buildup. If your machine’s parts can’t move freely due to accumulated sediment, it may choose to shut down instead of causing further damage.
2. The pH of Your Water Starts to Decrease
Water ionizers are designed to produce water with a pH level of around 8 or 9. If you notice a decrease in your water’s pH, this could be a sign that your ionizer isn’t working as efficiently as it should. Consider getting a pH testing kit to keep tabs on your water’s pH level – this way, you’ll know right away if something’s off.
3. The Water Flow is Slowing Down
If the water coming out of your faucet is slowing to a trickle, or your ionizer isn’t producing any water at all, it could be a sign that your filters need to be replaced. A clean filter allows water to flow freely, while a clogged one can significantly slow things down.
4. The Taste of Your Water Changes
Water produced by a functioning water ionizer should taste fresh and clean. If you notice that your water tastes off or different than usual, this could be a sign that your machine needs to be cleaned.
5. No Tiny Hydrogen Bubbles in Your Water
One of the fascinating features of water from a functioning water ionizer is the presence of tiny hydrogen bubbles. If these bubbles are missing, it might be an indication that your ionizer isn’t working as efficiently as it should be.
6. A Negative OPR is No Longer Achieved
A functioning water ionizer should generate water with a negative OPR (Oxidation Reduction Potential) of -200 to -400. If you have an OPR meter, use it to check the OPR levels of your water. If the OPR isn’t as negative as it should be, it’s time to clean your ionizer.
7. Visible Limescale in the System
Finally, if you notice a layer of limescale in your system’s valves, plates, and tubing, this could be a clear sign that your unit needs to be cleaned. Limescale is a common issue, especially if you live in an area with hard water.
Now that you know what signs to look out for, let’s explore how to clean your water ionizer.
Step-by-Step Guide to Cleaning Your Water Ionizer
Step 1: Unplug the Ionizer from the Electrical Unit
Safety first! Before you start cleaning your water ionizer, make sure to unplug it from the electrical unit. Remember, water and electricity don’t mix – you don’t want to risk damaging your machine or, worse, causing an electrical hazard.
Step 2: Fill a Container with White Vinegar
White vinegar is a miracle cleaning solution when it comes to water ionizers. It’s acidic enough to dissolve various types of sediments, making it ideal for this job. Prepare a container full of white vinegar and get ready to give your ionizer a thorough cleansing.
Step 3: Connect the Vinegar Container to the Ionizer Using a Fish Tank Pump
Now, it’s time to put that vinegar to work! You’ll need to connect your ionizer’s inlet to a pump submerged in the vinegar container. A fish tank pump works perfectly for this task, but any small pump should do the trick. The goal is to allow the vinegar to flow through the system, slowly but surely dissolving any built-up calcium along the way.
Step 4: Allow it to Circulate for 2 – 12 hours
Patience is key here! To clean your ionizer effectively, the vinegar should circulate for a minimum of two hours. However, if your ionizer hasn’t been cleaned in a while, you might want to let it run for up to 12 hours. The longer the vinegar circulates, the more thoroughly it can clean.
Step 5: Reconnect the Ionizer to the Water Source
After a thorough cleaning, it’s time to reconnect your ionizer to the water source. Make sure you’ve reattached all the tubing correctly before switching the unit back on.
Conclusion: Maintenance is Key for a Healthy Water Ionizer
Just like any other household appliance, your water ionizer needs a little TLC to function at its best. By keeping an eye out for the warning signs and knowing how to clean your unit properly, you can ensure that your ionizer will continue to provide you with fresh, clean, and healthy alkaline water for years to come.

Jay
Jay is a health and wellness enthusiast with expertise in water quality and nutrition. As a knowledgeable advocate for holistic well-being, Jay successfully manages Type 2 Diabetes through informed lifestyle choices. Committed to sharing reliable and authoritative insights, Jay combines firsthand experience with a passion for enhancing health."
