
Are you wondering why there is black mold in your water pitcher? Maybe you’ve noticed it growing over time and are looking for a way to eliminate it.
Table Of Contents
−- Does mold grow in water pitcher?
- What is pink mold
- What is green mold
- What Is black mold?
- The health risks of black mold
- Inspecting the water pitcher for visible signs of mold
- How to prevent black mold in water pitchers
- Cleaning the water pitcher regularly
- Disinfecting the water pitcher with bleach solution
- Drying out the water pitcher after use
If so, this blog post is for you. We’ll explain what causes black mold in water pitchers, its risks, and the best ways to prevent and remove it.

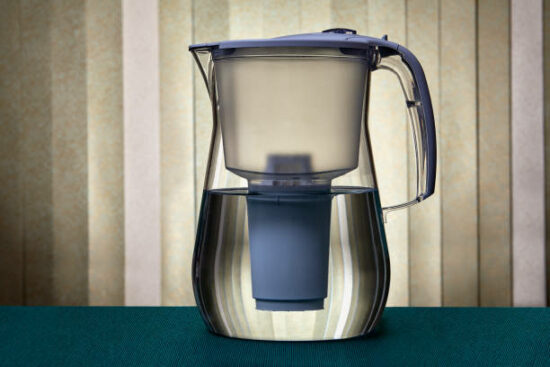
Does mold grow in water pitcher?
The water pitcher is always kept moist, which makes it especially susceptible to growing black, pink, or green mold.
If you have found mold in your water pitcher, it is important to clean it immediately.
What is pink mold
Pink mold is a type of bacterial growth that can be found in damp and dark places around your home. It is not actually a mold, but rather a strain of airborne bacteria called Serratia marcescens. This bacteria can cause allergic reactions and must be removed as soon as possible.
What is green mold
Green mold is a term used to describe any of the many species of mold that produce green-colored spores. It can cause medical problems such as skin rashes, sinus infections, hives, and respiratory infections.
While green mold might be found on food items such as fruit and bread, it is also commonly found on plants in the form of Trichoderma longibrachiatum.
Other common types of green mold include Aspergillus versicolor and Cladosporium herbarum.
All three are known to grow in buildings, but they prefer different foods: Green mold prefers to feed on food, while Aspergillus versicolor and Cladosporium herbarum prefer woody materials. Knowing what type of green mold you have is important for identifying the best treatment plan for it.
What Is black mold?
Black mold is a fungus that grows in damp environments, such as showers, basements, and bathrooms. It can also be found in wood and other materials.
Black mold is a type of fungi that typically grows in damp and dark places. It is usually green or black and can appear fuzzy or slimy. It is commonly found in old walls, cracks, food, and even water filters.
Black mold can cause various health problems, including respiratory issues, skin irritation, and headaches. In some cases, it has been linked to more serious illnesses like cancer.
The health risks of black mold
Black mold is a fungus that can be found indoors and outdoors. It is usually black, but it can also appear green or gray. Black mold can cause various health problems, especially if left unchecked.
The most common symptoms associated with exposure to black mold include allergies, such as sneezing, coughing, watery eyes, and skin irritation. Long-term exposure to black mold may also lead to more serious illnesses, such as asthma and respiratory infections.
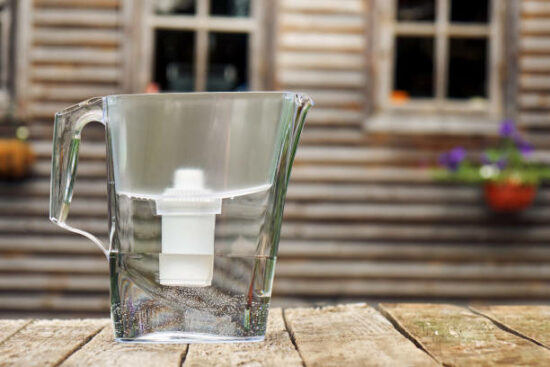
Inspecting the water pitcher for visible signs of mold
Inspecting the water pitcher for visible signs of mold is important in maintaining a healthy and safe home. Mold can grow in many places and become a health hazard, given the right conditions. To prevent black or white mold from forming in your pitcher, regularly check for any visible signs.
Mold requires moisture to survive, so it is important to be aware of any areas with excessive moisture, such as previously-flooded homes, leaky pipes, or places where condensation accumulates.
The most common sign of mold is a musty smell which often accompanies wet spots. Black mold often appears slimy and greenish-black spores on surfaces and can also appear dry and powdery if its water source runs out.
When inspecting your water pitcher for mold, disassemble it and remove the filter cartridge. Inspect the filter cartridge for any black, green, or pink discolorations that may indicate mold. Ensure you use high-efficiency particulate air filters (HEPA) when replacing filters regularly to prevent black dust from accumulating on air vents, which could indicate hidden mold in ductwork.
How to prevent black mold in water pitchers
Preventing black mold from growing in your water pitcher is important in ensuring a safe and healthy drinking experience. Here are some tips for preventing mold growth:
- Clean your water pitcher regularly. This means washing the outside, lid, and spout with hot soapy water and rinsing thoroughly. Make sure to do this after each use and at least once a week.
- By keeping the room temperature below 40-50 degrees, you can lower the chances of mold growth. Keep your home’s humidity level under 40% to 50%, and you can use a Dehumidifier to maintain a certain level.
- Sanitize your pitcher with white vinegar or bleach solution by filling it halfway with either of these solutions and letting it sit for thirty minutes before rinsing thoroughly. Do this every couple of weeks to prevent build-up inside the reservoir and on the filter cartridge.
- Replace your filter cartridge regularly (depending on usage). As the filter gets clogged or contaminated, it can become a breeding ground for mold spores or bacteria, making them invisible to the eye but in your drinking water. Change the filter every two months to keep it functioning properly and free from contaminants that can cause illnesses.
- If you’re using well water, make sure you have a filtration system in place that can remove any contaminants that may be present in your water, such as lead and other metals before it enters your home. If you use a private well, contact your local Environmental Health Department to have your well water tested annually to ensure it is safe to drink.
Cleaning the water pitcher regularly
Cleaning your water pitcher regularly is important to maintaining a healthy and safe drinking environment. Not only will it ensure that your water tastes great, but it will also help prevent the growth of mold and other contaminants.
To clean your water pitcher, remove the filter and lid and set them aside. Then, clean the shell and reservoir with vinegar and dish soap. Dip the parts into the solution and scrub until all mildew is removed.
Additionally, rinse the filter under running water to reduce any remaining contaminants.
Finally, wash the pitcher, lid, and spout with liquid detergent and warm water. following these steps regularly can keep your Brita pitcher free from mold!
Disinfecting the water pitcher with bleach solution
Disinfecting a water pitcher with a bleach solution is an effective way to eliminate mold and bacteria. To do this, disassemble the pitcher and remove the filter.
Inspect the filter cartridge for black, green, or pink mold. Use a new toothbrush to clean difficult-to-reach parts. It is important to avoid using bleach solution if there is mold on the bottom of the container, as it may cause discoloration.
To prevent further growth of mold, use well water or keep the filtration device in a dry place away from sunlight. To attack mildewy bits, mix one teaspoon white vinegar with one cup of water and dip your sponge into it to scrub affected areas.
You may also use hydrogen peroxide by combining 1 part hydrogen peroxide and 1 part water in a spray bottle and spraying it onto affected areas before wiping them off with a damp cloth.
For deeper disinfection, you can make a saturated bleach solution consisting of 1 tablespoon of bleach per gallon (3.8L) of water and soak the parts for 5 minutes before rinsing them thoroughly with fresh water.
Finally, wash your water pitcher, lid, spout, and filter with warm detergent water.
If you want to disinfect your stainless steel water pitcher, you can use vinegar instead of bleach. Vinegar can kill mold and mildew. You can make a vinegar solution of 1 part vinegar to 1 part water and soak the parts for 5 minutes before rinsing them thoroughly with fresh water.
Finally, rinse your water pitcher, lid, spout, and filter with warm detergent water.
Drying out the water pitcher after use
To prevent mold growth in your water pitcher, it’s important to dry out the pitcher after each use. Start by emptying the water pitcher and then taking apart all components. Be sure to clean each piece with a mild detergent or white vinegar solution before putting them back together.
Once cleaned, allow the pieces to air dry before reassembling the water pitcher. To avoid mildew developing in the pitcher, you’ll want to ensure each part is completely dry before putting it back together.
If you notice any new mold after cleaning, mix white vinegar with a bowl of fresh water and dip the parts into this solution for about 10 minutes. This will help kill any remaining mold spores and help keep your water pitcher clean and safe for drinking.

Jay
Jay is a health and wellness enthusiast with expertise in water quality and nutrition. As a knowledgeable advocate for holistic well-being, Jay successfully manages Type 2 Diabetes through informed lifestyle choices. Committed to sharing reliable and authoritative insights, Jay combines firsthand experience with a passion for enhancing health."